Tools and materials for building your shed
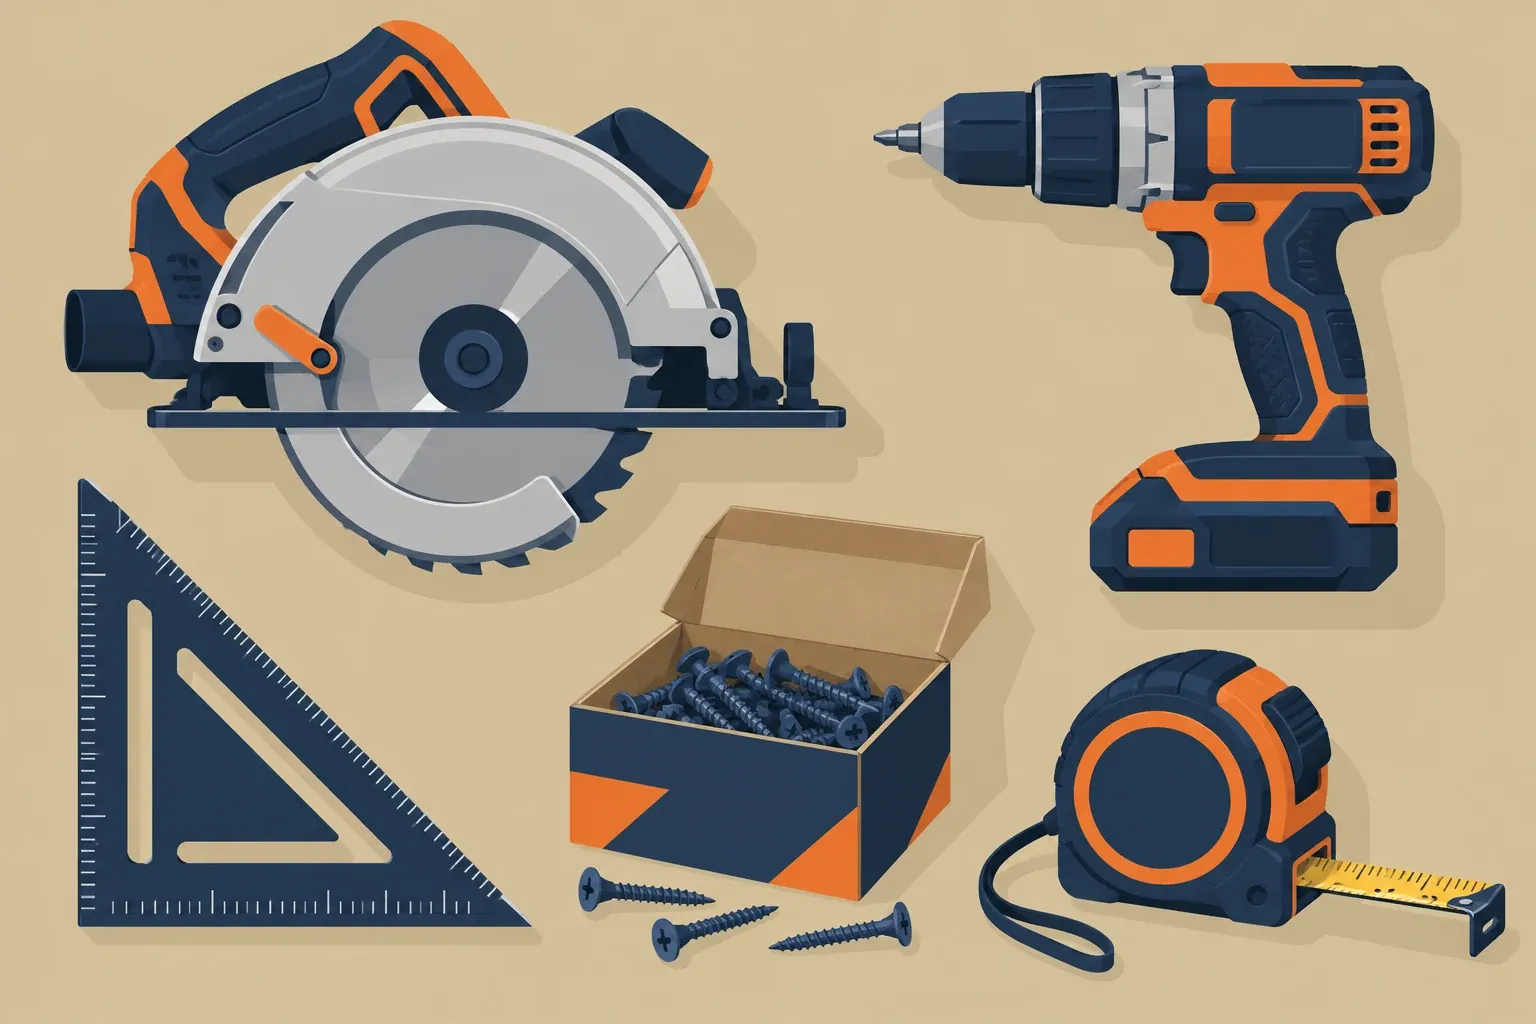
These are the categories of tools and hardware the plans on this site call for: a circular saw for framing lumber, a driver for deck screws, a speed square for marking angle cuts on rafters, and exterior fasteners rated for the frame and siding. Links go to Amazon.
- Circular saw for cutting framing lumber to the lengths in your cut list.
- Cordless drill driver for deck screws through plates, studs and skids.
- Speed square for marking rafter angle cuts and squaring the frame.
- Exterior deck screws rated for outdoor framing and siding.
As an Amazon Associate, Shed Cut List earns from qualifying purchases made through these links, at no extra cost to you. Exact quantities for your build are in the bill of materials included with your plan download, not on this page.
This page does not endorse a specific brand as required; it links to categories of product that match what each plan's cut list calls for.
Tools the plans assume
- A circular saw with a sharp framing blade, the tool that makes or breaks every cut on the list
- A cordless driver and exterior rated screws, sized as the bill of materials specifies
- A speed square for rafter and bird's mouth marking, and a longer framing square for wall layout
- A 25 ft tape, a 4 ft level and a string line for the pad
- Sawhorses and a pair of clamps, which turn an awkward cut into a safe one
Timber choices that matter
Skids and any framing in contact with the ground must be pressure treated and rated for ground contact, which is a different rating from above ground treated lumber. Fasteners in treated timber must be rated for it too: ordinary zinc screws corrode fast in modern treatments. Everything above the floor can be ordinary framing lumber, picked straight rather than picked cheap.
About these links
Product links go through the Amazon Associates program, which pays a small commission on qualifying purchases at no extra cost to you. Nothing is a paid placement: any saw that cuts square and any square that is actually square will build these plans.
Job order for checking tools and materials before cutting
Set up a flat staging area before you open the lumber stack. A useful minimum is about 12 ft by 12 ft for a small shed, or 16 ft by 20 ft when cutting 12 ft and 16 ft boards. Keep one side clear for full length boards and one side clear for cut parts that are already marked.
Print the cut list from your download and mark each board before the saw is plugged in. Write the part name on the lumber with pencil, then mark the length. Cut the longest parts first, because a wrong 92 5/8 in stud can often become a shorter block, but a short offcut cannot become a long plate.
Check the first cut of each repeated part with a tape before batching the rest. For studs, blocking and rafters, clamp a stop block to the sawhorse if you are cutting many parts to the same length. Do not use your hand as the stop. Leave at least 1 in of clear space between the blade path and any clamp.
Sort fasteners into open containers by use before assembly starts. Keep framing screws, siding fasteners and roofing fasteners separate. When a plan calls out a fastener type in the bill of materials, use that label on the container so the person driving screws is not guessing during wall assembly.
For the build sequence, work from foundation to floor, then walls, roof frame, sheathing, siding and trim. If you need the drawing set for the exact part names used in the cut list, use the matching shed plans rather than making a new naming system on site.
Field dimensions and setup figures to use
A tape measure can be accurate and still cause layout errors if it is pulled at an angle. For floor and wall frames, measure along the edge of the board, not through the open air. When checking a rectangle, measure both diagonals from outside corner to outside corner. A difference of 1/8 in over an 8 ft wall is usually easy to pull square. A difference over 1/2 in should be corrected before sheathing locks the frame.
| Check | Figure to use | What it tells you |
|---|---|---|
| Saw blade depth | About 1/8 in to 1/4 in below the lumber | Less tearout and better control than a blade set too deep |
| Sawhorse spacing for 8 ft stock | About 5 ft apart | The board is supported without pinching the blade near the end of the cut |
| Minimum clear working lane for long boards | Board length plus 3 ft | Space to carry and rotate lumber without striking the frame |
| Diagonal tolerance before sheathing | Within 1/8 in to 1/4 in for common shed wall sizes | The frame is close enough to stay square when panels are fixed |
| Time to sort one lumber delivery | 20 to 45 minutes | Enough time to reject twisted pieces for plates, rafters and door framing |
Use the straightest boards for bottom plates, top plates, rim boards, rafters and door openings. Bowed boards can often be used for short blocking. A crown in a stud is not automatically waste, but all crowns should face the same way in one wall so the siding plane stays predictable.
Frequent mistakes and how to recover
If a board is cut short by 1/8 in, do not hide it in a load path without checking the drawing. Short blocking can usually be remade as a smaller block, but studs, rafters, plates and rim boards should be cut again if the short length changes the frame size or roof line.
If a wall is nailed or screwed together out of square, loosen the corners before forcing it. Pulling hard on one corner while all fasteners are tight can split plate ends. Back out enough fasteners to let the frame move, measure diagonals again, then refasten after the diagonal numbers match.
If the wrong fastener was started in treated lumber, remove it and replace it with the rated fastener specified for that location. Do not mix ordinary indoor fasteners into exterior framing because they are hidden later and difficult to inspect.
If siding or sheathing is fastened before the frame is checked, use the panel as a clue. A panel that overhangs one corner and falls short at the opposite corner usually means the frame was not square. Stop, measure diagonals, then decide whether to loosen the panel or correct the frame from the open side before more panels are installed.
- Mark waste sides with an X before cutting angled parts, especially rafters.
- Keep the factory end only if it is square. Many boards need a light trim before final measuring.
- Do not measure the next part from a fresh cut until sawdust is brushed away from the end.
- Replace a pencil line that became wide or smeared. A 1/16 in layout error repeated across many parts becomes visible during assembly.
Special cases that change the material check
Wet pressure treated lumber is heavier and can shrink as it dries. If it is used for skids or floor members, stack it flat with stickers until assembly starts, and keep it shaded if the job pauses for more than a day. Do not leave one face in full sun and the other face on damp ground.
Cold weather changes battery runtime and sealant behavior, but it also changes handling. Plan shorter cutting sessions and keep spare driver batteries indoors until needed. In hot weather, check layout marks more often because sweat and dust can remove pencil marks from treated lumber and sheathing.
On a sloped or uneven site, spend extra time on string lines and level checks before material is cut for the floor. A floor frame that is built square on an uneven base can twist when loaded. If the site condition raises a code, permit or foundation question, check the general answers in the FAQ before buying extra material.
For a one person build, prepare more temporary supports than the plan permanently uses. Short scrap blocks, clamps and a straight 2 by board can hold a wall plumb while you fasten the next piece. For a two person build, assign one person to read the cut list and one person to cut, then swap only after a full group of parts is complete.
Read next
- 8x10 Shed Plans: 8x10 ft shed plans, 80 sq ft on a skid floor, gable or lean-to roof, single or double door.
- 8x8 Shed Plans: 8x8 ft shed plans, 64 sq ft on a skid floor, gable or lean-to roof, single or double door.
- Your files: Access your purchased Shed Cut List downloads here.