Shed Material Calculator
Pick a size, roof and door below to see the nomenclature, an editable-price cost estimate, and a cut list for that exact shed, computed by the same framing engine used to build every paid plan on this site.
- Footprint
- Wall height
- Lumber boards
- Siding sheets
- Estimated material cost
Prices per board and per sheet are editable above the cost estimate so you can match your local lumber yard.
This exact size and roof: see the parametric plan.
Framing spans are bounded to line up with published span tables (IRC, AWC span tables) at 16 in stud centers. This tool does not model wind or snow load and does not replace a local building permit or setback check with your town.
What the calculator shows
Pick a size, roof and door and the same framing engine that builds the paid plans returns the nomenclature for that exact shed: every framing member with its finished length and count, the sheet goods needed, and a cost estimate you can edit line by line with your own local prices. It is the bill of materials from the plan, shown before you buy anything.
Using it to price a build
Lumber prices move enough that any figure baked into a plan is wrong within months, which is why the prices here are editable rather than fixed. Take the quantities to your yard's website, put their current prices in, and the estimate becomes a real number for your area. Comparing two sizes this way is the fastest honest answer to the question of what the next size up costs.
What it does not cover
The estimate covers framing, sheathing and the fasteners the plan calls for. Roofing material, siding finish, paint, hardware beyond the door, gravel for the pad and any electrical work are choices that vary too much by region and taste to price for you. Budget for them separately: on a small shed they routinely add a third to the framing cost.
Job order from calculator output to a usable pile
Print the cut list or copy it to a sheet before ordering. Mark each line as floor, wall, roof, sheathing, or trim stock so the delivery can be stacked in the order you will use it. For one small shed, allow 30 to 60 minutes for checking the list, 1 to 2 hours for pickup or unloading, and another 30 minutes to sort the lumber by length.
Buy the longest straight members first. Rim boards, skids, rafters, and long wall plates are harder to substitute than studs. Sight every board from the end. Reject boards with a crown over about 1/2 in across 8 ft, deep edge splits, loose knots at the end, or a twist that will not sit flat under hand pressure.
- Stack framing lumber on three supports, one near each end and one at midspan, so it does not sag before cutting.
- Keep sheet goods flat, dry, and off soil. Four 2x4 sleepers are enough for a short site storage period.
- Label each cut part with a pencil as soon as it is cut. Use codes such as F1 for floor, W2 for wall, and R3 for roof.
- Cut repeated parts with a stop block, not by measuring each piece again. This keeps studs and rafters within about 1/16 in of each other.
If you are using a paid plan from shed plans, keep the plan detail open beside the calculator output and build by assembly, not by board type. A clean order is floor frame, floor sheathing, long walls, short walls, roof frame, wall sheets, roof sheets, then door opening parts.
Tools, working space, and dimensional checks
A shed frame can be cut with basic carpentry tools, but the layout tools matter as much as the saw. Minimum equipment is a circular saw, tape measure, speed square, chalk line, hammer or driver, clamps, pencil, sawhorses, and eye protection. A miter saw speeds repeated cuts, but it is not required if the circular saw is guided squarely.
Set up a cutting area at least 12 ft long for 8 ft material and 18 ft long for 12 ft and 16 ft material. Leave 3 ft of walking space on the saw side. For sheet goods, a flat 4 ft by 8 ft support area keeps cuts from breaking at the end of the sheet.
| Check point | Target figure | When to check |
|---|---|---|
| Floor diagonal difference | 1/4 in or less | Before fastening floor sheathing |
| Wall stud spacing error | 1/8 in or less at each layout mark | Before sheathing each wall |
| Wall plumb error | 1/4 in or less over 8 ft height | Before tying walls together |
| Roof overhang match | 1/4 in or less side to side | Before roof sheathing |
| Door rough opening width | Measure top, middle, and bottom | Before siding around the opening |
Do not rely on board length stamps for finished dimensions. Factory length is normally close enough for rough stock, but cut list parts should be measured from the same tape every time. If two people are cutting, use one master sample for repeated parts so both stations produce the same length.
Frequent mistakes and practical recovery
The most common error is building a floor that is out of square. If the diagonal measurements differ by more than 1/4 in, do not force the walls to fix it. Loosen the temporary bracing, push the long diagonal shorter, pull the short diagonal longer, then fasten the first sheet only after the frame is square.
A second common mistake is cutting all studs before confirming the actual plate layout. If a wall has a door or a shorter return section, separate common studs from king studs, jack studs, and cripples before cutting. If several studs are cut short by 1/4 in, use them in nonbearing blocking or short cripple locations where the plan length matches. Do not stack thin shims under many studs to save a bad batch.
If a rafter pattern is wrong, stop after the first pair. Test the pair on the wall plates, check ridge contact if used, and confirm overhang before cutting the rest. A wrong birdsmouth can sometimes be recovered by using that piece as shorter blocking, but a deep seat cut should not be reused as a full rafter.
Sheet layout mistakes are easier to prevent than repair. Snap reference lines on framing before lifting sheets. Keep sheet edges centered on studs or rafters. If an edge misses framing by less than 3/4 in, add a full length nailer behind the joint rather than leaving fasteners close to the sheet edge.
Special cases to decide before ordering
A calculator total assumes a normal, level build sequence. Some sites need extra decisions before the material order is final. A sloped pad may need longer skids, more blocking, or a framed step. A wet site may need more gravel and better separation from soil. These items are outside the framing list, but they affect the day one workload.
For a narrow side yard, check access before choosing sheet sizes. A 4 ft by 8 ft sheet needs more than its exact width to turn a corner. If the path is tight, plan for two people and temporary storage near the build area. Carrying sheets more than 100 ft by hand adds real time, often 30 to 60 minutes for a small shed.
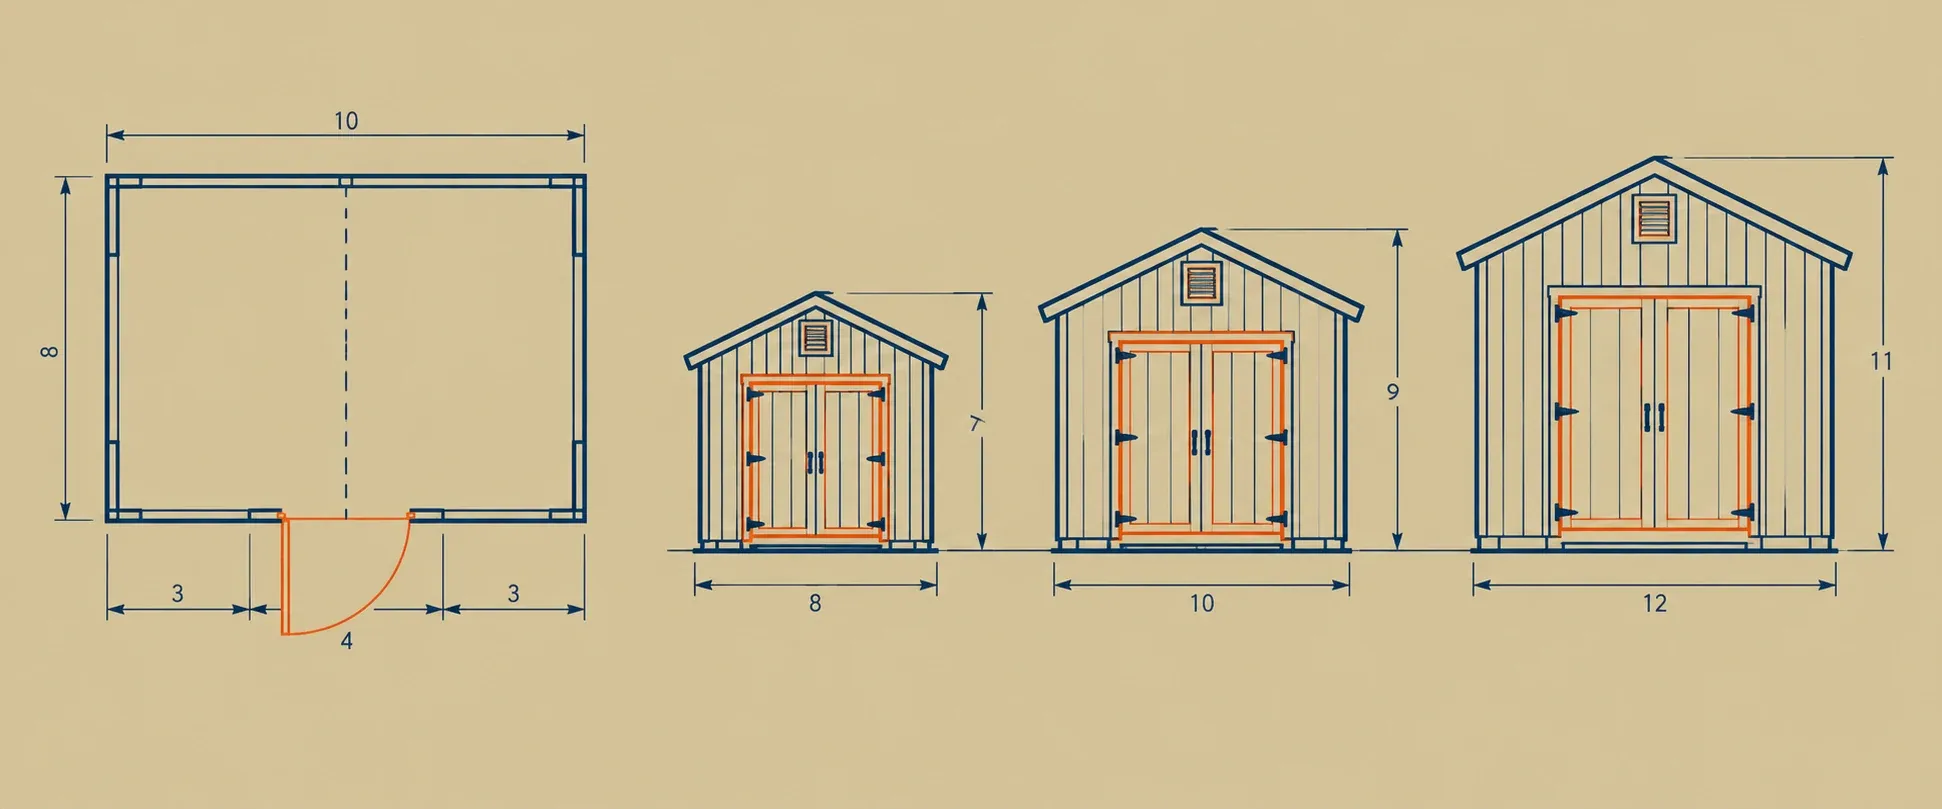
For double doors, protect the opening from racking while the walls are being raised. Leave temporary diagonal bracing in place until adjacent wall sheathing or corner ties are fastened. For lean to roofs, confirm the high wall location before cutting siding sheets, since reversing the slope changes which wall receives the tallest cuts.
If a permit office asks for drawings rather than a material list, start from plans and keep the calculator output as the purchase checklist. For unclear terms, check FAQ before cutting, because one misunderstood opening size can waste more lumber than a careful review costs in time.
Read next
- Style Bundle: Every size shed plan in one roof style, gable or lean-to, in a single download: cut list, panel layout and assembly order for each size, $49 total.
- 10x12 Shed Plans: 10x12 ft shed plans, 120 sq ft on a skid floor, gable roof, single or double door.
- 12x12 Shed Plans: 12x12 ft shed plans, 144 sq ft on a skid floor, gable roof, single or double door.